This post is the first part of a series of two articles about running a Mastodon instance on AWS with ECS and Fargate. To familiarize myself with Mastodon and its configuration, I decided to first run Mastodon locally using Docker Compose. This post will describe the steps to run Mastodon locally with Docker Compose. The second part will cover the steps to run Mastodon on AWS using ECS and Fargate. The code for this part can be found here.
Introduction
Since I was never a big fan of the existing social media platforms, I was looking for an alternative for a while. I came across Mastodon and got interested in it and the idea of building protocols instead of platforms. When I was looking for Mastodon instances, I came up with the idea of hosting my own instance. I also thought it might be a good next project to write a blog post about. Since I already used AWS for my last project, I thought it might be interesting to run Mastodon on AWS as well.
Before I start with the AWS part, I wanted to get familiar with Mastodon and its configuration. Therefore, I decided to run Mastodon locally with Docker Compose for now. In the next sections, I will describe the steps to run Mastodon locally with Docker Compose. To get Mastodon running with Docker Compose, I am grateful to have found the following blog posts by Ben Tasker and Peter Babič, which helped me a lot:
- https://www.bentasker.co.uk/posts/blog/general/running-mastodon-in-docker-compose.html#self_hosting.
- https://peterbabic.dev/blog/running-mastodon-with-docker-compose/
In the next section, I describe the steps to customize the Docker Compose file to run Mastodon in a local setup for exploration and testing purposes.
Adjusting to run locally
Since we only want to run Mastodon locally for research and testing purposes, we will make some small changes to the Docker Compose file and Nginx configuration, and deviate somewhat from the setup described in the blog posts by Ben Tasker and Peter Babič.
Docker Compose and .env file
First, we get the Docker Compose file from the Mastodon repository. There is no need to clone the entire repository, as the Docker Compose file is the only file we need from the repository. Of course, you can also clone the repository and copy the Docker Compose file from there.
The second file we need is the .env.development file. This file contains the environment variables for the Mastodon web, streaming, and Sidekiq service definitions in the Docker Compose file. We can start with an empty file and add the variables we need later. Inside a shell, you can create the file with the following command: touch .env.development.
The environment part of the .env file determines the Rails environment. We will set it to development since we want to run Mastodon locally for exploration and testing purposes. Therefore, we need to replace .env.production with .env.development in the Docker Compose file.
Remove build statements
In the second step, we need to remove the build statements from the Docker Compose file, since we will use the prebuilt images from the Docker Hub instead of building the images locally.
Simply replace the build statement build:. with image: tootsuite/mastodon:v4.1.1 in the Docker Compose file. The latest image version at the time of writing is v4.1.1.
Remove networks
In a third step, we need to remove the internal and external networks from the Docker Compose file, since it is not necessary to distinguish between internal and external networks when running locally only. Simply remove the networks from the service definitions and the Networks section in the Docker Compose file.
Remove the following lines from the service definitions
networks:
  - internal_network
  - external_network
and the networks section at the end of the Docker Compose file.
networks:
  external_network:
  internal_network:
    internal: true
I also removed the local host IP, 127.0.0.1, before the port mappings and deleted the comments for the Elasticsearch cluster and the hidden services federation configuration. This was probably not necessary, but I thought it would be cleaner to remove them.
Add Mailcatcher
To be able to send and receive emails locally, we can add Mailcatcher to the Docker Compose file. Mailcatcher is a simple SMTP server that intercepts all messages sent to it and displays them in a web interface. With Mailcatcher, we can send emails locally on port 1025 and receive them on port 1080.
mailcatcher:
  restart: always
  image: schickling/mailcatcher
  container_name: mastodon-mailcatcher
  ports:
    - 1025:1025
    - 1080:1080
Add Minio
To be able to upload media files to a local S3-compatible storage, we can add Minio to the Docker Compose file. Minio is an open source object storage server that is compatible with the Amazon S3 cloud storage service. With Minio, we can upload media files locally on port 9000 and access the Minio console on port 9001. I was unable to use a local AWS S3 mock server because the AWS S3 client used by Mastodon appears to be hardwired to use the AWS S3 API endpoints. Therefore, I had to use Minio instead.
minio:
  restart: always
  image: minio/minio
  ports:
    - "9000:9000"
    - "9001:9001"
  volumes:
    - minio_storage:/data
  environment:
    MINIO_ROOT_USER: minio
    MINIO_ROOT_PASSWORD: minio123
  command: server --console-address ":9001" /data
Adjust Nginx configuration
In the last step of the preparation we will customize the Nginx configuration to run Mastodon locally. We will use the Nginx configuration provided by Ben Tasker and configure it to run Mastodon on the local domain social.localhost with self-signed certificates for this local domain. For this purpose I created a new folder nginx and added the following subfolders:
conf.d- contains the Nginx configuration filescerts- contains the self-signed certificatestmp- contains the Nginx temporary files.lebase- don’t know what this is for. Just copied it from Ben Tasker’s setup.
The folders are mounted as volumes in the Nginx container. The Nginx container is configured as follows:
http:
  restart: always
  image: nginx:1-alpine
  container_name: mastodon-nginx
  ports:
      - 443:443
      - 80:80
  volumes:
      - ./nginx/tmp:/var/run/nginx
      - ./nginx/conf.d:/etc/nginx/conf.d
      - ./nginx/certs:/etc/letsencrypt/
      - ./nginx/lebase:/lebase
To create the self-signed certificates, we can run the following command:
openssl req -x509 -out social.localhost.crt -keyout social.localhost.key \
  -newkey rsa:2048 -nodes -sha256 \
  -subj '/CN=social.localhost' -extensions EXT -config <( \
   printf "[dn]\nCN=social.localhost\n[req]\ndistinguished_name = dn\n[EXT]\nsubjectAltName=DNS:social.localhost\nkeyUsage=digitalSignature\nextendedKeyUsage=serverAuth")
The created certificates are then placed in the folder nginx/certs.
The Nginx configuration file is called mastodon.development.conf and is located in the nginx/conf.d folder and looks like this:
server {
        listen 80;
        listen   [::]:80;

        root /lebase;
        index index.html index.htm;

        server_name social.localhost;

        location ~ /.well-known/acme-challenge {
            try_files $uri $uri/ =404;
        }

        location / {
                return 301 https://$server_name$request_uri;
        }
}

server {
        listen 443 ssl http2;
        listen [::]:443 ssl http2;
        root /mnt/none;
        index index.html index.htm;

        server_name social.localhost;

        ssl on;

        ssl_certificate      /etc/letsencrypt/social.localhost.crt;
        ssl_certificate_key  /etc/letsencrypt/social.localhost.key;

        ssl_session_timeout  5m;
        ssl_prefer_server_ciphers On;
        ssl_protocols TLSv1 TLSv1.1 TLSv1.2;

        absolute_redirect off;
        server_name_in_redirect off;

        error_page 404 /404.html;
        error_page 410 /410.html;

        location / {
            proxy_set_header Host $http_host;
            proxy_set_header X-Forwarded-Proto https;

            proxy_pass http://web:3000;
        }

        location ^~ /api/v1/streaming {
            proxy_set_header Host $http_host;
            proxy_set_header X-Forwarded-Proto https;

            proxy_pass http://streaming:4000;

            proxy_buffering off;
            proxy_redirect off;
            proxy_http_version 1.1;
            tcp_nodelay on;
        }
}
The main parts of the Nginx configuration file are doing the following:
- Redirects all HTTP requests to HTTPS
- Serves the Mastodon web application on port 3000
- Serves the Mastodon streaming API on port 4000. The path for the streaming API is
/api/v1/streaming
Prepare and run Mastodon
Now that the preparations are complete, we can set up the Mastodon instance. To summarize, the following must be in place:
- The customized Docker Compose file.
- An (empty)
.env.developmentfile. - The Nginx configuration file and the self-signed certificates.
As also mentioned by Peter Babič, this part is a bit tricky, but we will see that it is a bit easier if we just want to run Mastodon on a local domain instead of running it in a Docker environment in production.
To set up the Mastodon instance, we need to run the following command:
docker-compose run --rm web bundle exec rake mastodon:setup DISABLE_DATABASE_ENVIRONMENT_CHECK=1
I added the DISABLE_DATABASE_ENVIRONMENT_CHECK=1 option to the command to be able to re-run the command and recreate the database if I made a mistake. This is not recommended for production, but it is fine for a local setup.
The command asks you a few questions and then sets up the Mastodon instance. We will go through the questions and answers I used to set up Mastodon on the local domain social.localhost. I have split the questions into several sections for ease of reading and to be able to add comments on the different parts of Mastodon setup.
| Prompt | Answer | Default |
|---|---|---|
| Domain name | social.localhost | n/a |
| Do you want to enable single user mode | y | n |
| Are you using Docker to run Mastodon | y | y |
I have enabled single user mode because I want to run my own instance that way for now. I’m thinking about opening it up to other users later, but for now I want to keep it to myself. You can, of course, run Mastodon locally in multi-user mode. The next step is to configure the database and Redis.
| Prompt | Answer | Default |
|---|---|---|
| PostgreSQL host | db | db |
| PostgreSQL port | 5432 | 5432 |
| Name of PostgreSQL database | mastodon | postgres |
| Name of PostgreSQL user | postgres | postgres |
| Password of PostgreSQL user |
The PostgreSQL setup is very simple. After entering the PostgreSQL setup values, you should see the following output: Database configuration works! 🎆
| Prompt | Answer | Default |
|---|---|---|
| Redis host | redis | redis |
| Redis port | 6379 | 6379 |
| Redis password |
The Redis setup is also simple. After entering the values for the Redis setup, you should see the following output: Redis configuration works! 🎆
The next step is to configure the file storage. I use Minio as the S3 compatible file store. Here I take advantage of how Docker networks work. It’s not very elegant, but it works for now. I’m sure there is a better way to set up and run a local S3 compatible file store for use with Mastodon.
| Prompt | Answer | Default |
|---|---|---|
| Do you want to store uploaded files on the cloud? | y | n |
| Provider | Choose Minio from the list | List choice |
| Minio endpoint URL | http://minio:9000 | |
| Minio bucket name | files.social.localhost | files.domain |
| Minio access key | minio | minio |
| Minio secret key | minio123 | minio123 |
| Do you want to access the uploaded files from your own domain | y | y |
After the file store is configured, we need to configure the SMTP server. I use Mailcatcher to intercept all outgoing emails.
| Prompt | Answer | Default |
|---|---|---|
| Do you want to send e-mails from localhost | n | n |
| SMTP server | mailcatcher | |
| SMTP port | 1025 | 587 |
| SMTP username | ||
| SMTP password | ||
| SMTP authentication | plain | plain |
| SMTP OpenSSL verify mode | none | List choice |
| Enable STARTTLS | auto | List choice |
| E-mail address to send e-mails “from” | Mastodon <notifications@social.localhost> | Mastodon <notifications@domain> |
| Send a test e-mail with this configuration right now | y | y |
| Send a test e-mail to | mail@social.localhost |
The last question of the SMTP server configuration is sending a test email, which we should have answered yes. If everything is configured correctly, we can open the Mailcatcher web interface on http://localhost:1080 and see the test email.
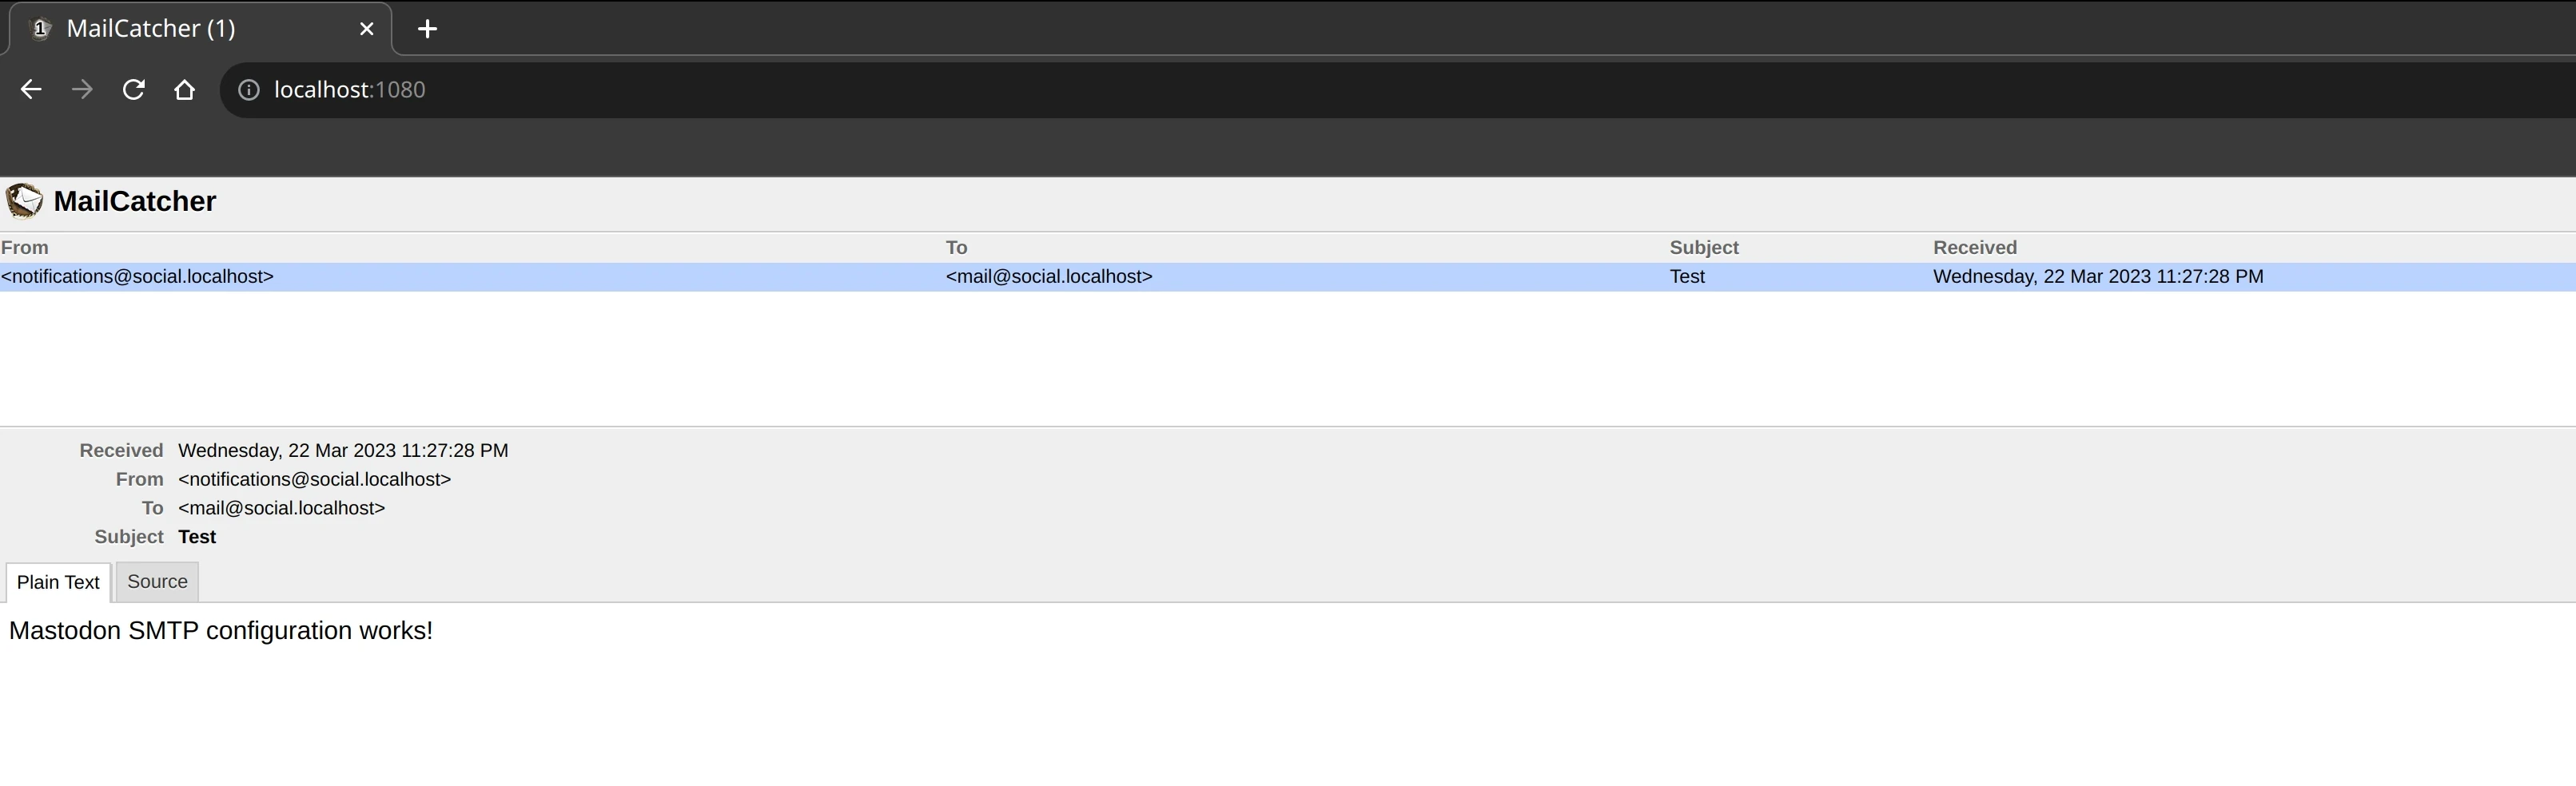
Mastodon test email
The second to last step is to save the config to the .env.production file in the Docker container. This is done by answering the following question:
| Prompt | Answer | Default |
|---|---|---|
| Save configuration | y | y |
If you answered ‘yes’ to the last question, the configuration will be saved in the .env.production file in the currently running Docker container and also displayed on the screen. We can now copy the output configuration from the screen to the .env.development file on our local machine. The output configuration should look something like the text below. For clarity, I have removed the secret values.
# Generated with mastodon:setup on 2023-03-19 21:16:41 UTC

# Some variables in this file will be interpreted differently whether you are
# using docker-compose or not.

LOCAL_DOMAIN=social.localhost
SINGLE_USER_MODE=true
SECRET_KEY_BASE=<secret>
OTP_SECRET=<secret>
VAPID_PRIVATE_KEY=<secret>
VAPID_PUBLIC_KEY=<secret>
DB_HOST=db
DB_PORT=5432
DB_NAME=mastodon
DB_USER=postgres
DB_PASS=
REDIS_HOST=redis
REDIS_PORT=6379
REDIS_PASSWORD=
S3_ENABLED=true
S3_PROTOCOL=http
S3_REGION=us-east-1
S3_ENDPOINT=http://minio:9000
S3_HOSTNAME=minio:9000
S3_BUCKET=files.social.localhost
AWS_ACCESS_KEY_ID=minio
AWS_SECRET_ACCESS_KEY=minio123
S3_ALIAS_HOST=localhost:9000/files.social.localhost
SMTP_SERVER=mailcatcher
SMTP_PORT=1025
SMTP_LOGIN=
SMTP_PASSWORD=
SMTP_AUTH_METHOD=plain
SMTP_OPENSSL_VERIFY_MODE=none
SMTP_ENABLE_STARTTLS=auto
SMTP_FROM_ADDRESS=Mastodon <notifications@social.localhost>
The final step in setting up Mastodon is to prepare the database and create an admin user.
| Prompt | Answer | Default |
|---|---|---|
| Prepare the database now | y | y |
| Do you want to create an admin user straight away | y | y |
| Username | admin | admin |
| admin@social.localhost |
After preparing the database and creating the admin user, we should see the following output:
You can login with the password: <generated password>
You can change your password once you login.
Copy the generated password and save it somewhere. We will need it in a minute to log in to the Mastodon instance.
To start Mastodon, we just need to run docker-compose up and we should be able to access the Mastodon instance at https://social:localhost1. We can log in with the username admin and the password generated earlier.
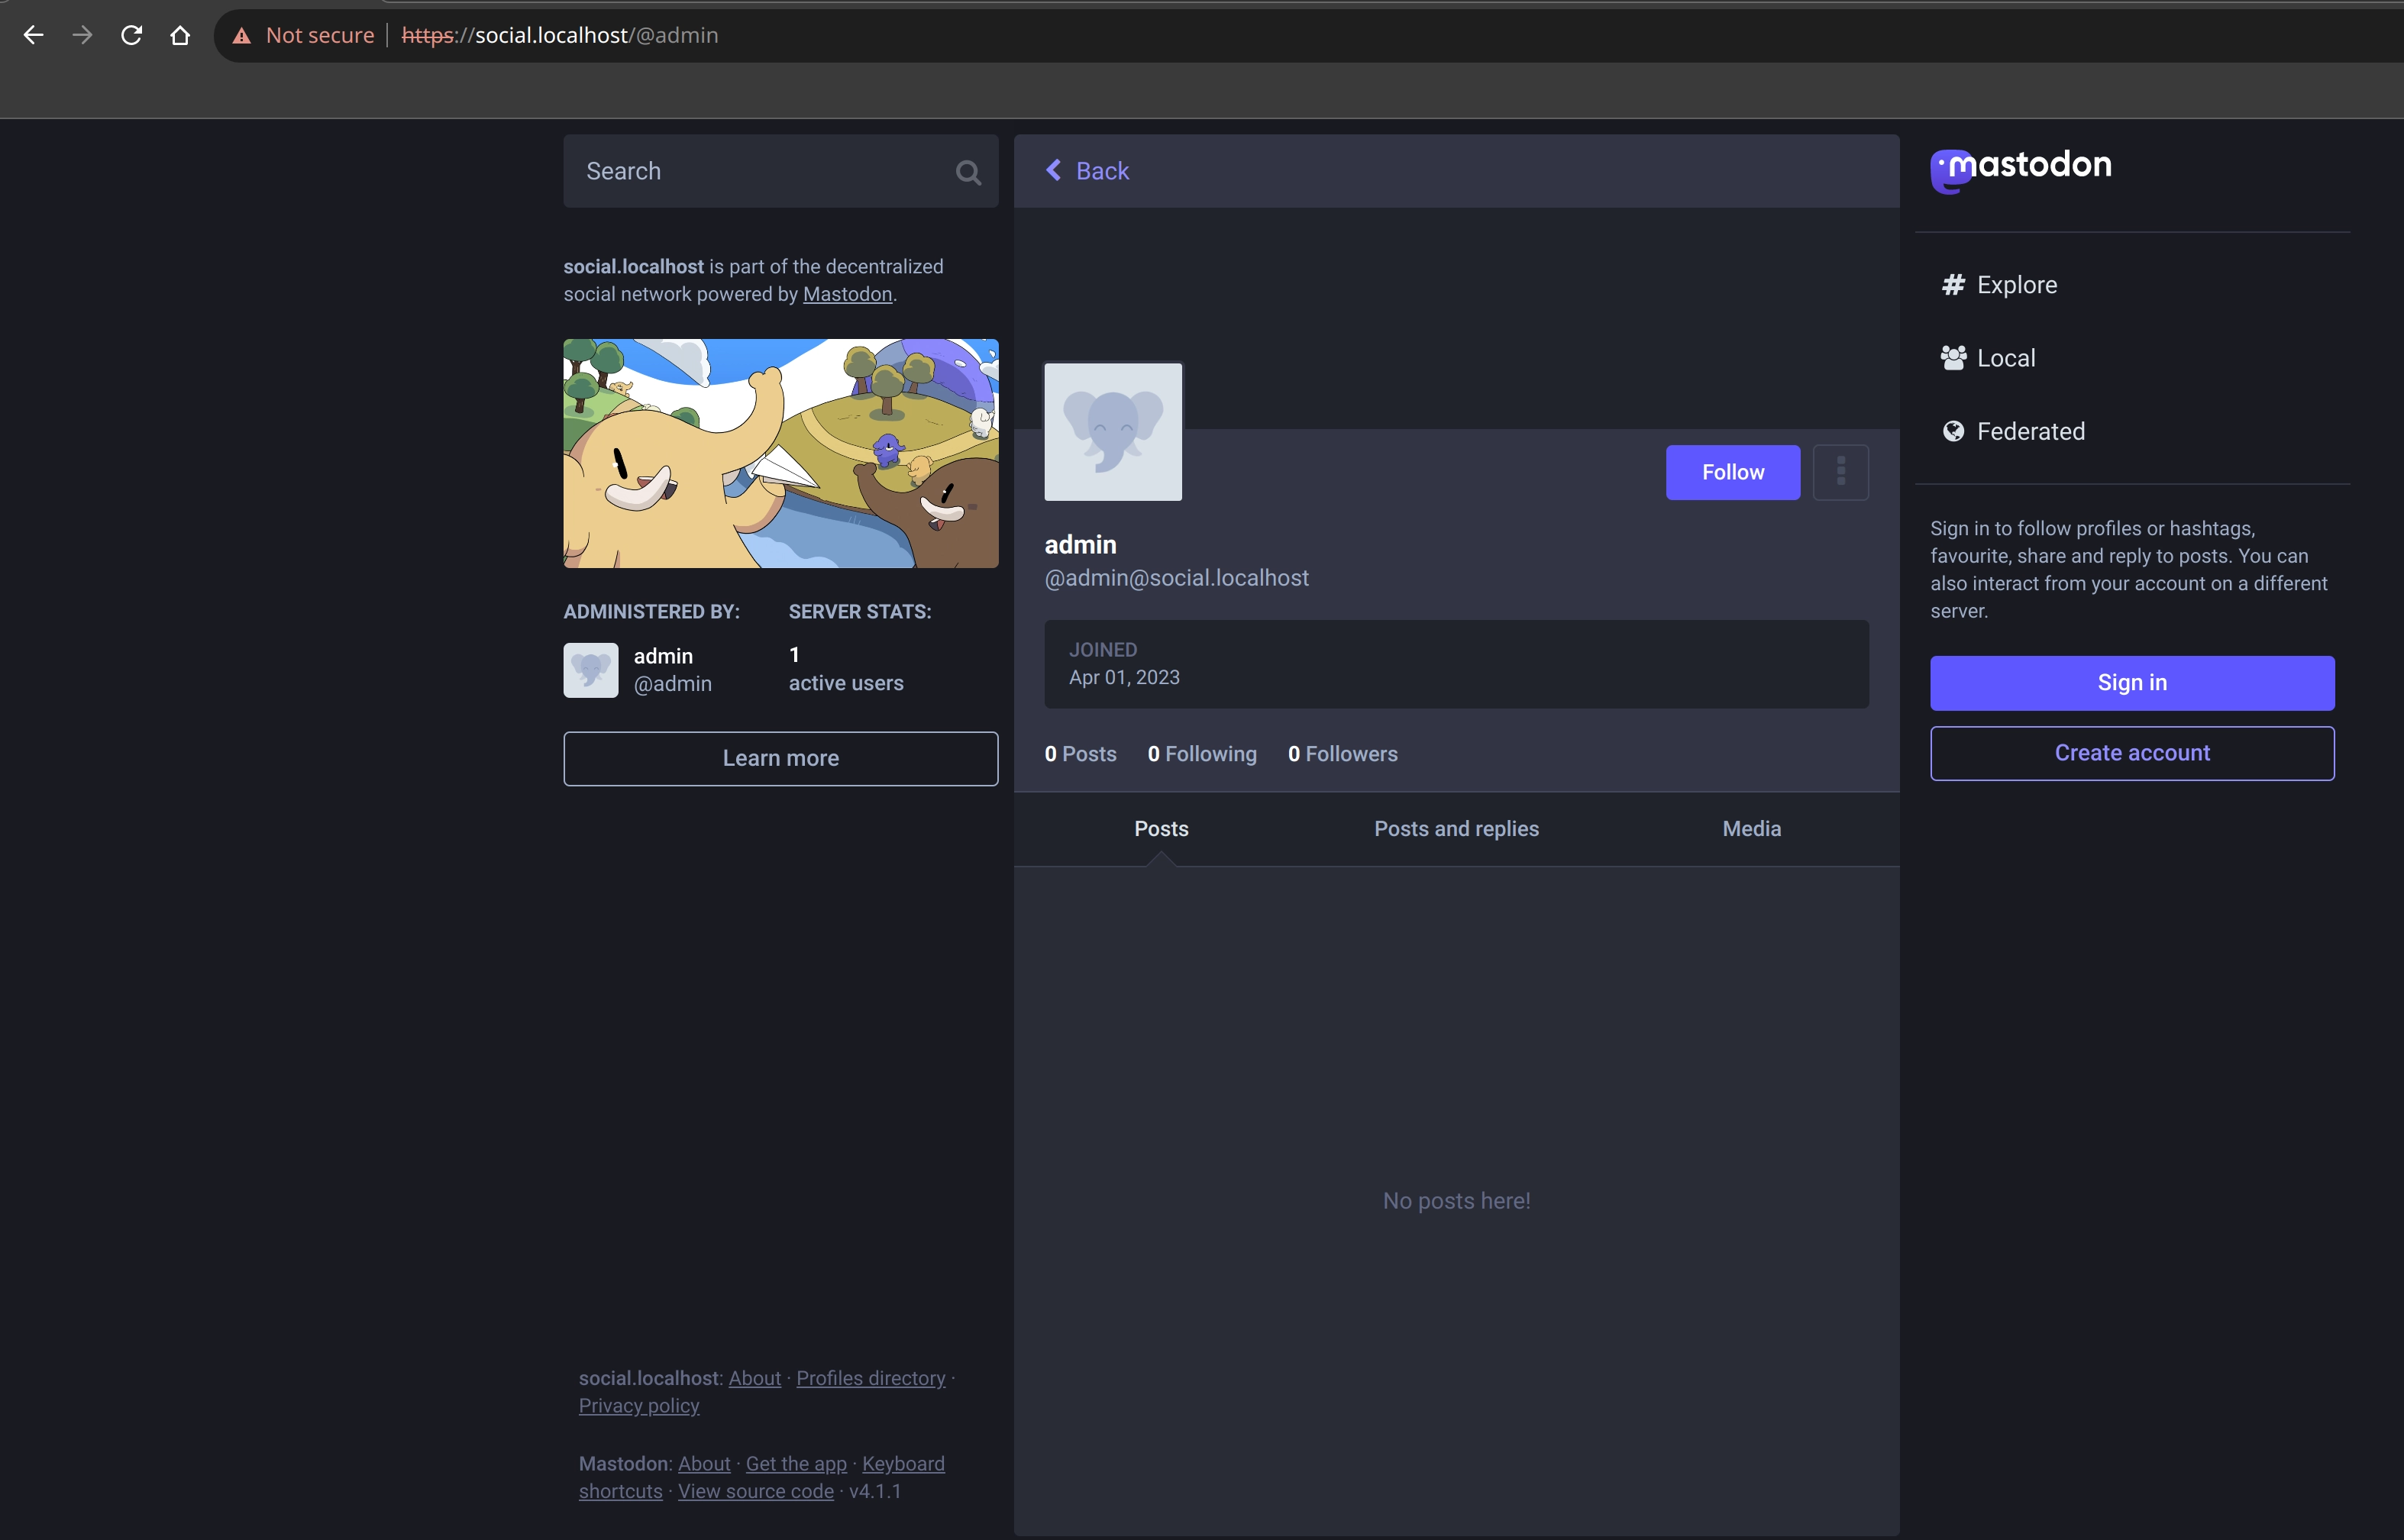
Mastodon running on social.localhost
After logging in, we can change the password of our admin user, add an avatar and a header image and write our first toots. After uploading some images, we can see that they are not displayed on Mastodon. This is because Minio uses a Content Security Policy (CSP) that prevents mixed (HTTP / HTTPS content). As a workaround, I temporarily installed the Disable Content Security extension in my Chromium browser. After disabling the CSP on the Mastodon site, we can see the images.

Mastodon first toots
We can then verify that the images are stored on the Minio instance by opening the Minio web interface to http://localhost:9000 and checking the files.social.localhost bucket.
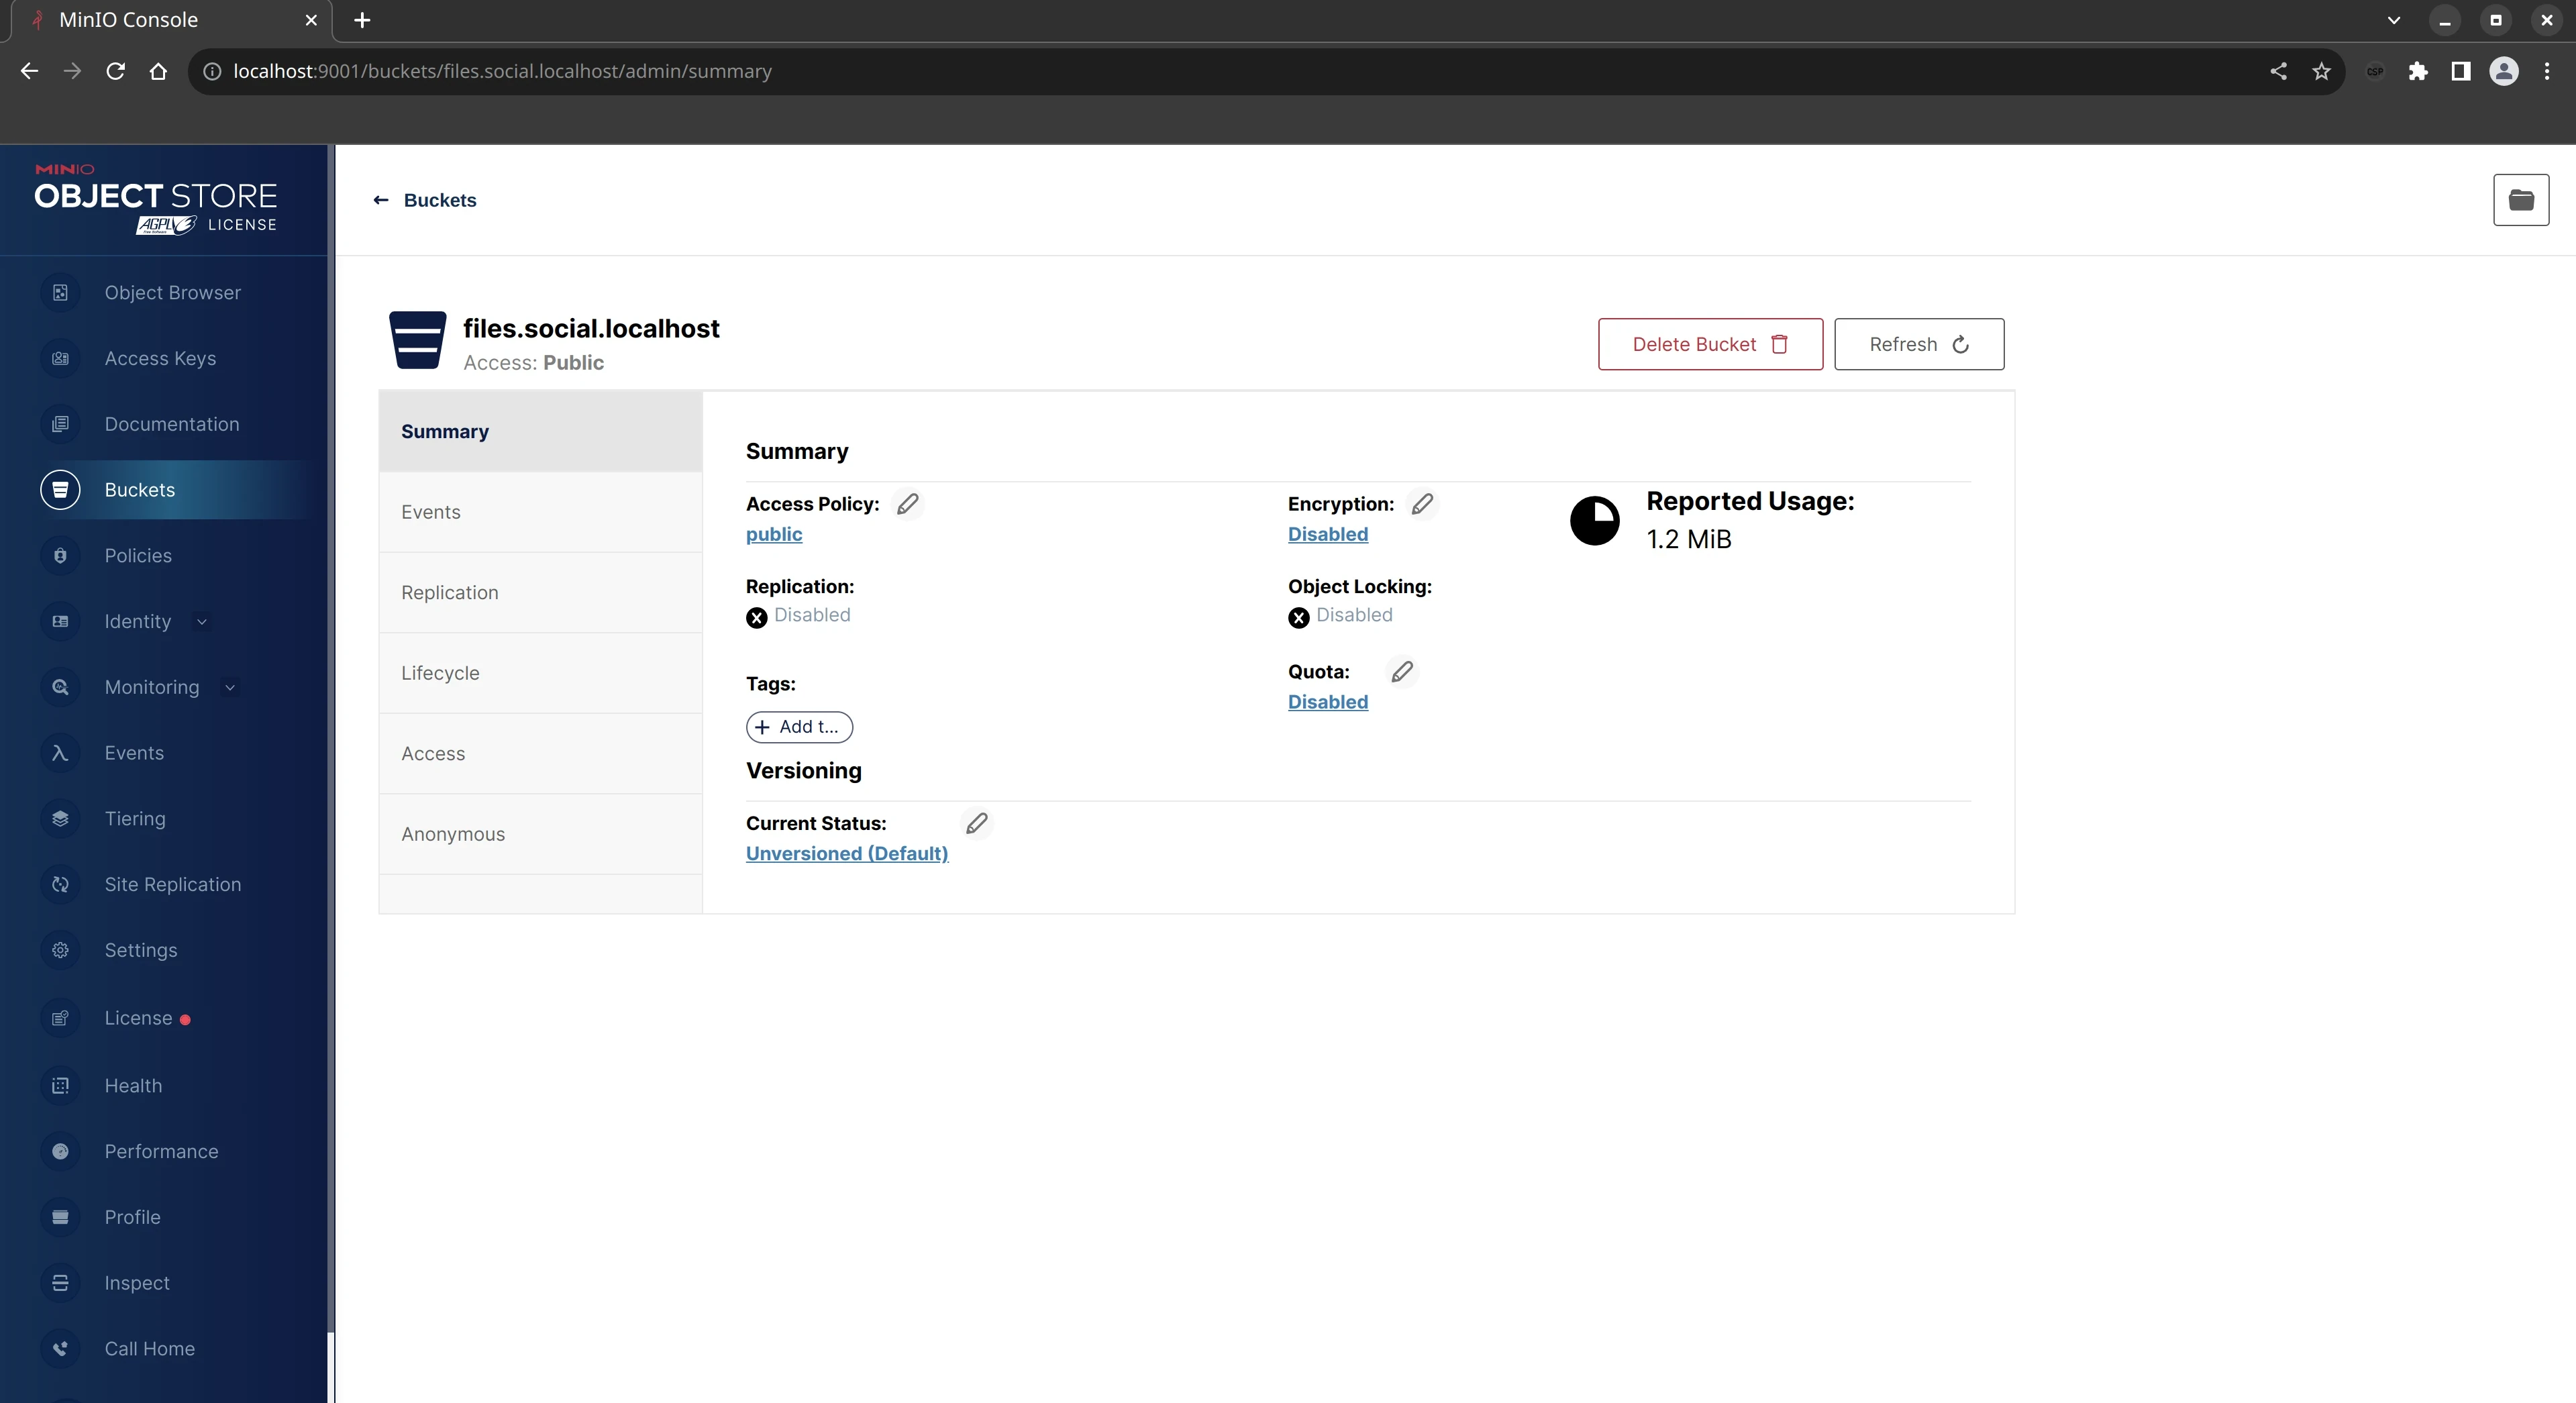
Local Minio bucket
We can also see the path of the file when we open one of the images in the browser.
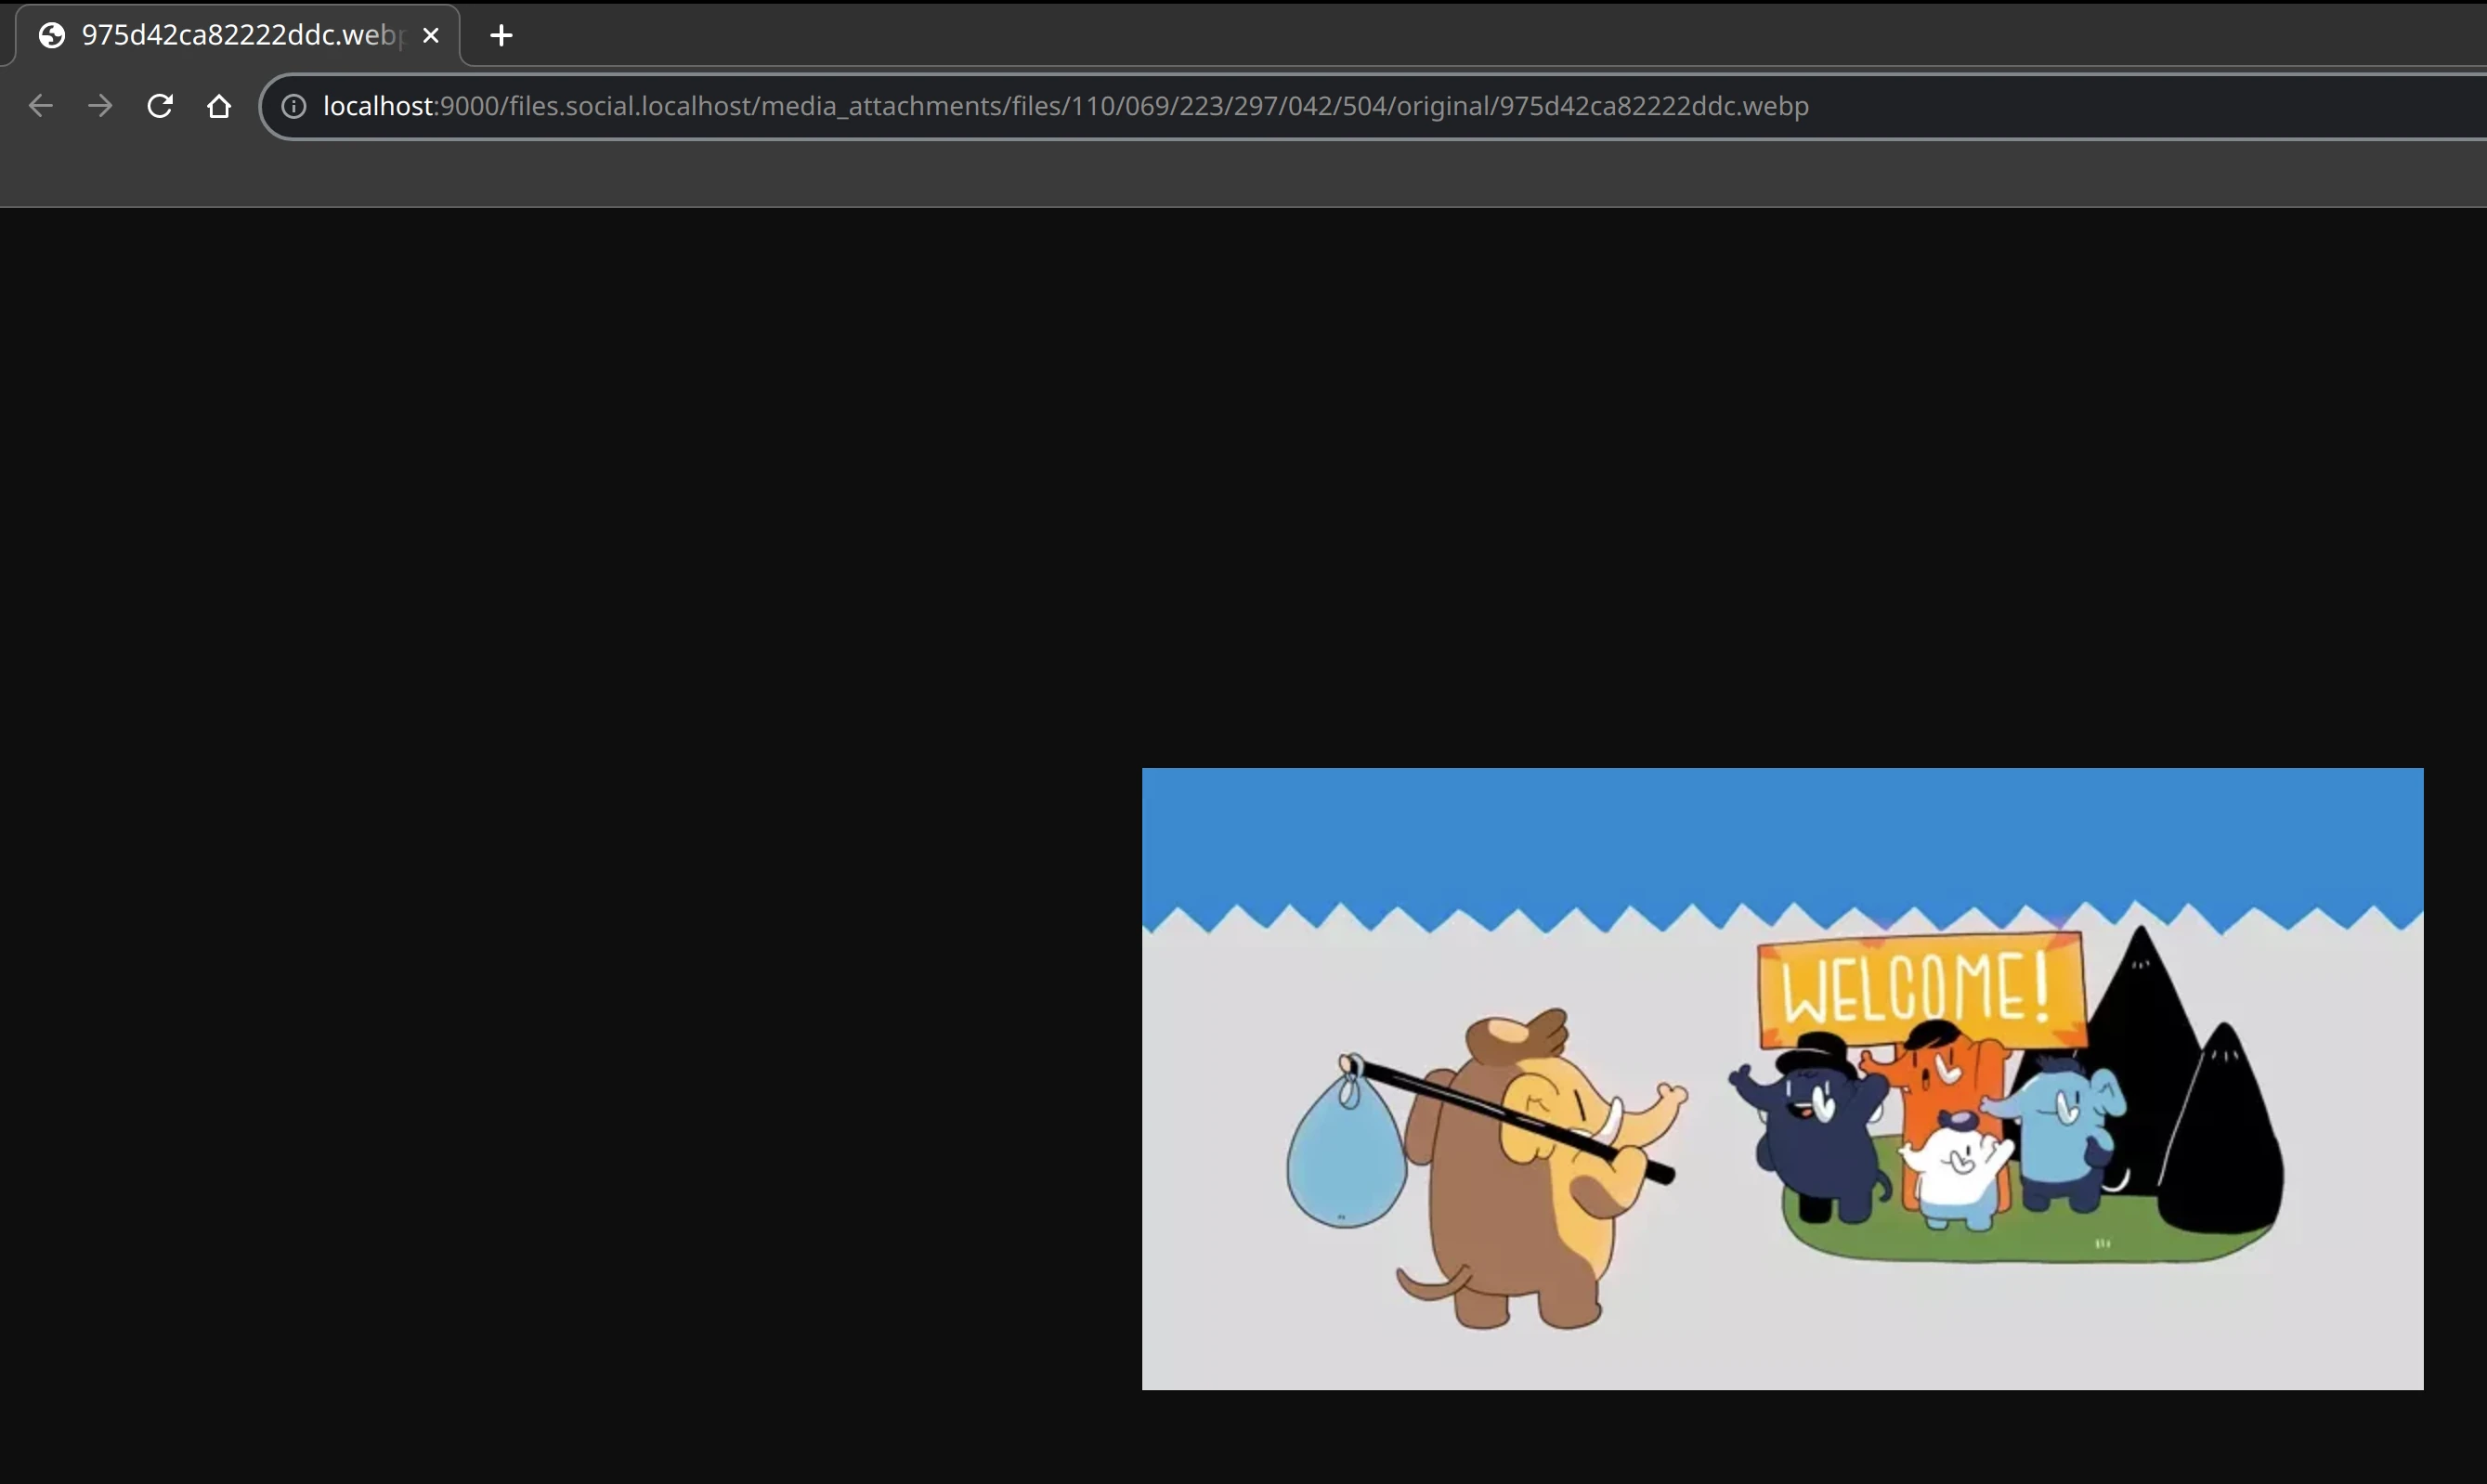
Image file path for local Minio bucket
In the next part , we show how to deploy Mastodon on AWS using Pulumi.
You have to disable the security warning in your browser to be able to access the Mastodon instance. This is because we are using a self-signed certificate. ↩︎